
I started out with a strip of silk (this is actually dupioni, though it is very crisp and thin and has relatively few slubs) about 3 inches wide (forgot to measure before I started...sorry guys...) and about 40 inches long. I am using the selvage edge for the inner workings, which is either smart or cheating depending how you look at it. I usually like to rip the strips so that it's perfectly straight, however I couldn't this time because I was using scraps and didn't want to piece, so my longest edge was parallel with the warp, not the weft...and let me tell you, I found it impossible to tear along the warp. Which, if you look up the diagram like I just did, becomes quite obviously impossible.
I started fringing it by smoothing the warp threads away from the weft with my thumb. I find it most useful to do it that way (between thumb and forefinger) because the weft doesn't tangle that way. If you try to simply pull out threads individually from the end they end up pulling all the cross threads into a ponytail, and you have to patiently sort things out again.


Then I trimmed the fringe. Use the sharpest pair of scissor you own, because it's like cutting hair! Very slippery. If you rip the silk you won't need to do this because it will be straight, but I cut the strip and it wasn't quite straight. If you cut it straight you can also forget this step. :D


Then I marked with tailor's chalk on the half inch (Next time I will do it on the 1/4, because 1/2 was too wide in the end) I like the chalk because it does rub out, and is easy to see on most fabrics. I also have phobias about markers and fabric, even if the marker washes out!!! Also, tailor's chalk is, I believe, more authentic. :D

Pinch the first two marks together


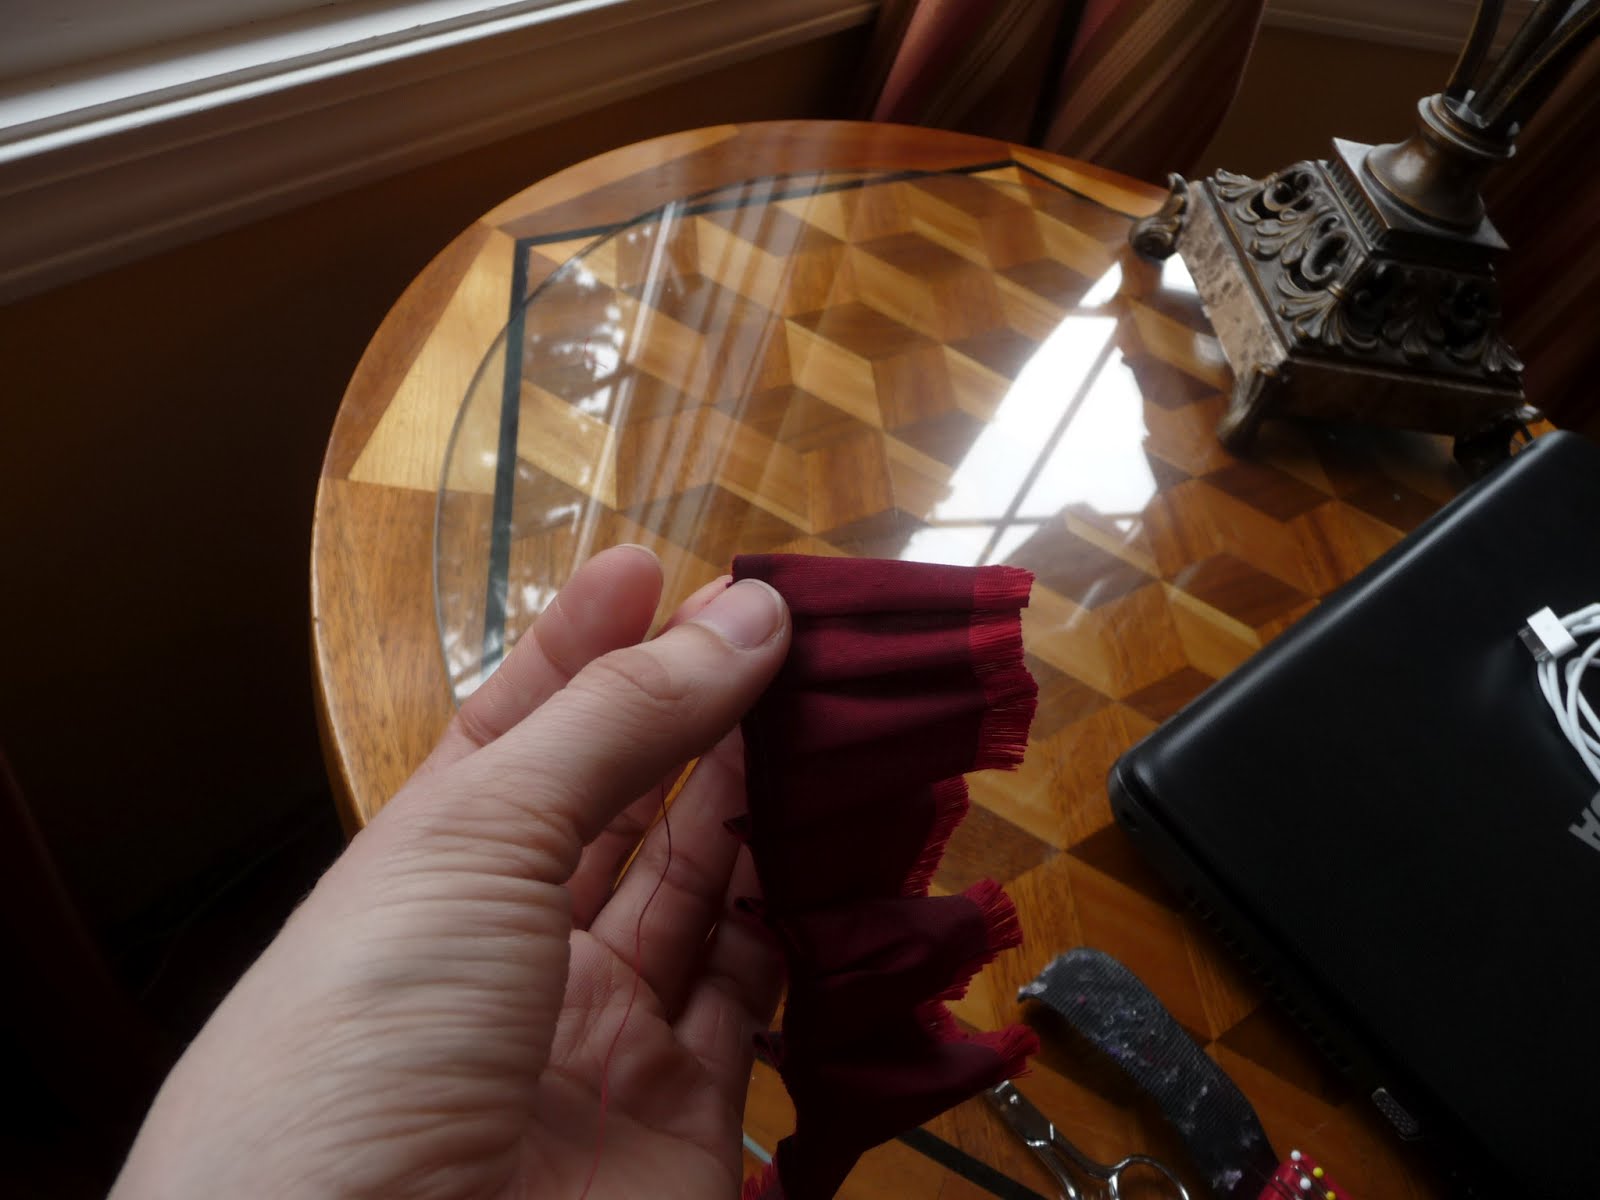
I put two stitches in almost the same spot, through the fold created by pinching the two marks together


Continue on with taking the next two marks and pinching together, putting the two stitches into the fold. It will start to curl, and the shorter the distance between marks, the more it will curl.


Turn the very end under twice and fasten with stitches.


Crimp the selvage edge in an extra pleat until the end of the strip forms a half-circle; sew a few holding stitches into the new pleat, holding it in place. Repeat, completing the circle. Bring your next length of pleated silk around behind the beginning of your first circle, stitching at intervals to keep things together. Continue around in a circle until all of the silk strip is used up. After completing the first circle you shouldn't need to add extra pleats


Secure the end, add a button in the middle, and your rosette is completed!
This is very cool, Elizabeth! Can this be used on an 1860's belt?
ReplyDeleteSure can be! That's what it was made for, anyway. :D
DeleteThis comment has been removed by the author.
ReplyDelete