This blog is a place to document my sewing projects. Please, look around and enjoy! -Elizabeth
Saturday, May 26, 2012
Mauve wool gown
It's been a while since I've posted last, but I hope to remedy that in the next several months. I have a few sewing projects lined up and I'm starting to have time worked out to do them again. One thing I would really like to work on is how LONG it takes me to do something. I've recently discovered the joys of handsewing things, which is good because the piece of clothing is less bulky and more workable, but bad because it takes a lot longer, and I didn't have that much time in the first place. However, handsewing makes things a lot more portable. I would like to make it so I can do quality work (up to MY standards) in a 24 hour period without breaking my fingers or my back. :D Sounds simple, right? Those of you who sew know it's not so much. Those of you who don't probably have an idea! One of the biggest things I've decided to do is make the same dress over and over. I have a pretty good imagination when it comes to making the same design six or seven different ways and I don't get tired of a thing easily. I just hope I find other people who agree with me to buy the gorgeous stuff! :D
Here is my current project, and I didn't get around to bringing in the camera until well into it. My grandmother asked me to talk a bit about wedding gowns of the American Civil War era to her Quester's group which was doing a report on wedding gowns of the eras. It was short notice to get a dress done and she knew it, so told me IF I had anything suitable to wear it, if I would. I didn't...though I had been planning this dress last year when she asked me if I could do this for a much larger scale wedding show they had been planning to do this past January. I'd also been planning a bonnet, and hoping to buy a bonnet veil, but I didn't have time for either.
So of course I couldn't just give the talk. And usually four weeks is more than enough for me to make a dress in, but this time we were working on two different houses and I've had a lot more responsibilities given to me since last year.
I wanted to do a double point in the front (thought this was called a postillion bodice, but it turns out it's not. I don't really know the proper name for it IS) and double box pleats, and lots of these faceted glass buttons down the front. The sleeves again have the silk pleating on the inside, and I am currently playing with decorations.
This is my current model, though I might change it. Obviously the decorations would continue on BOTH sides of the gown! I do like asymmetry, but not to that extent.
ETA:
More trim ideas!
Monday, April 2, 2012
Making a rosette
Here is a tutorial of a rosette. It started out the same rosette as the one I made for my purple silk belt, only because I didn't measure (VERY BAD GIRL) it was large and I made all the layers the same size. I will (hopefully) be making the belt to accompany it shortly, only I keep running into unexpected time shortages and my sewing has suffered. :D However, silk belts are great things to do by hand, and I hope to bring it on one of the unexpected trips! If I do I'll be sure to bring the camera. In the meantime, the technique works for all sizes of rosettes, and is pretty malleable so you can make lots of variations.

I started out with a strip of silk (this is actually dupioni, though it is very crisp and thin and has relatively few slubs) about 3 inches wide (forgot to measure before I started...sorry guys...) and about 40 inches long. I am using the selvage edge for the inner workings, which is either smart or cheating depending how you look at it. I usually like to rip the strips so that it's perfectly straight, however I couldn't this time because I was using scraps and didn't want to piece, so my longest edge was parallel with the warp, not the weft...and let me tell you, I found it impossible to tear along the warp. Which, if you look up the diagram like I just did, becomes quite obviously impossible.
I started fringing it by smoothing the warp threads away from the weft with my thumb. I find it most useful to do it that way (between thumb and forefinger) because the weft doesn't tangle that way. If you try to simply pull out threads individually from the end they end up pulling all the cross threads into a ponytail, and you have to patiently sort things out again.


Then I trimmed the fringe. Use the sharpest pair of scissor you own, because it's like cutting hair! Very slippery. If you rip the silk you won't need to do this because it will be straight, but I cut the strip and it wasn't quite straight. If you cut it straight you can also forget this step. :D


Then I marked with tailor's chalk on the half inch (Next time I will do it on the 1/4, because 1/2 was too wide in the end) I like the chalk because it does rub out, and is easy to see on most fabrics. I also have phobias about markers and fabric, even if the marker washes out!!! Also, tailor's chalk is, I believe, more authentic. :D

Pinch the first two marks together


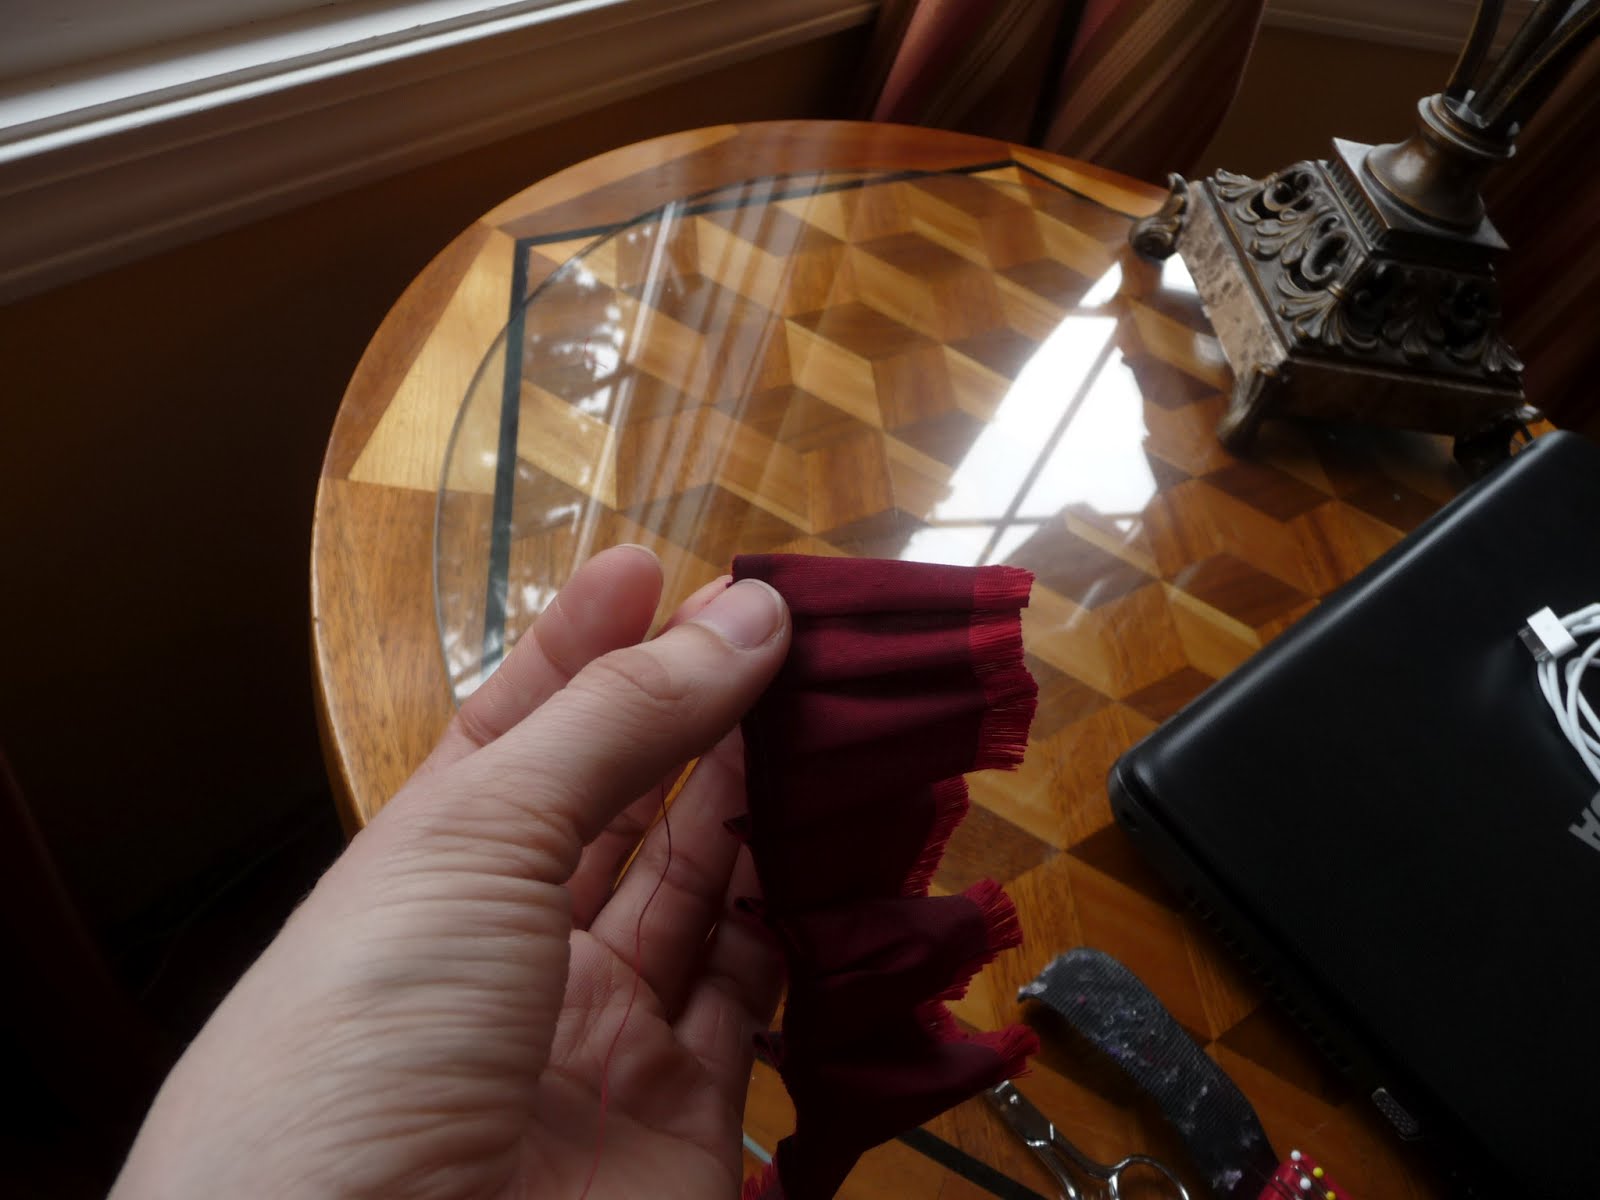
I put two stitches in almost the same spot, through the fold created by pinching the two marks together


Continue on with taking the next two marks and pinching together, putting the two stitches into the fold. It will start to curl, and the shorter the distance between marks, the more it will curl.


Turn the very end under twice and fasten with stitches.


Crimp the selvage edge in an extra pleat until the end of the strip forms a half-circle; sew a few holding stitches into the new pleat, holding it in place. Repeat, completing the circle. Bring your next length of pleated silk around behind the beginning of your first circle, stitching at intervals to keep things together. Continue around in a circle until all of the silk strip is used up. After completing the first circle you shouldn't need to add extra pleats


Secure the end, add a button in the middle, and your rosette is completed!
I started out with a strip of silk (this is actually dupioni, though it is very crisp and thin and has relatively few slubs) about 3 inches wide (forgot to measure before I started...sorry guys...) and about 40 inches long. I am using the selvage edge for the inner workings, which is either smart or cheating depending how you look at it. I usually like to rip the strips so that it's perfectly straight, however I couldn't this time because I was using scraps and didn't want to piece, so my longest edge was parallel with the warp, not the weft...and let me tell you, I found it impossible to tear along the warp. Which, if you look up the diagram like I just did, becomes quite obviously impossible.
I started fringing it by smoothing the warp threads away from the weft with my thumb. I find it most useful to do it that way (between thumb and forefinger) because the weft doesn't tangle that way. If you try to simply pull out threads individually from the end they end up pulling all the cross threads into a ponytail, and you have to patiently sort things out again.
Then I trimmed the fringe. Use the sharpest pair of scissor you own, because it's like cutting hair! Very slippery. If you rip the silk you won't need to do this because it will be straight, but I cut the strip and it wasn't quite straight. If you cut it straight you can also forget this step. :D
Then I marked with tailor's chalk on the half inch (Next time I will do it on the 1/4, because 1/2 was too wide in the end) I like the chalk because it does rub out, and is easy to see on most fabrics. I also have phobias about markers and fabric, even if the marker washes out!!! Also, tailor's chalk is, I believe, more authentic. :D
Pinch the first two marks together
I put two stitches in almost the same spot, through the fold created by pinching the two marks together
Continue on with taking the next two marks and pinching together, putting the two stitches into the fold. It will start to curl, and the shorter the distance between marks, the more it will curl.
Turn the very end under twice and fasten with stitches.
Crimp the selvage edge in an extra pleat until the end of the strip forms a half-circle; sew a few holding stitches into the new pleat, holding it in place. Repeat, completing the circle. Bring your next length of pleated silk around behind the beginning of your first circle, stitching at intervals to keep things together. Continue around in a circle until all of the silk strip is used up. After completing the first circle you shouldn't need to add extra pleats
Secure the end, add a button in the middle, and your rosette is completed!
Tuesday, July 12, 2011
New things
I've been extremely busy - more so than usual - recently. Two of my sisters are getting married!!!! In between trying to reorganize our household, move, get some houses ready to go on the market and plan two weddings I've been dividing my time between altering Leah's wedding dress and sewing little things therapeutically.
This is my accessory post. :D
I made a purple silk belt out of scraps - linen backing, some belt stiffener cut to size sandwiched in the middle and some blue/red changeable taffeta for the outside with a self-fabric rosette and a faux jet button in the middle of the rosette. I really like it! It stays where it's supposed to, unlike the ribbon belt I'd been using before.
The second accessory which took the longest (November til May, seriously!) is a swiss waist, made out of the leftovers of the red silk dress I made for the weddings LAST year. It's dupioni, which is NOT period correct, but it's not very slubby, and from a little ways away the slubs are barely noticeable. I'm not wearing it over the proper skirt, it's just two petticoats and a white waist I made for Anna.
I shall post my ballgown, which is also finished (!!!!) when I get good pictures of it, becuase it is too glorious to post ok pictures of, which is all I have now. Here is a teaser, however:

And now on to the accessories:


This is my accessory post. :D
I made a purple silk belt out of scraps - linen backing, some belt stiffener cut to size sandwiched in the middle and some blue/red changeable taffeta for the outside with a self-fabric rosette and a faux jet button in the middle of the rosette. I really like it! It stays where it's supposed to, unlike the ribbon belt I'd been using before.
The second accessory which took the longest (November til May, seriously!) is a swiss waist, made out of the leftovers of the red silk dress I made for the weddings LAST year. It's dupioni, which is NOT period correct, but it's not very slubby, and from a little ways away the slubs are barely noticeable. I'm not wearing it over the proper skirt, it's just two petticoats and a white waist I made for Anna.
I shall post my ballgown, which is also finished (!!!!) when I get good pictures of it, becuase it is too glorious to post ok pictures of, which is all I have now. Here is a teaser, however:
And now on to the accessories:
Thursday, May 19, 2011
Sunday, April 3, 2011
My new sewing room
One of the reasons I have not been sewing lately is that we've been getting our house ready to move into. Here is my new sewing room! I have been in the basement for so long it's been strange to try and figure out what to do with an actual room, and I've been having fun decorating it. Let's face it: I had a hard time decorating an unfinished basement...I may have creative genes, but I never put them towards making the basement nice looking...
So here is my room! It's about 15 x 13 with a small bathroom and small walk-in closet, which I'm going to use for storing lots of stuff in. I'm going to put shelves on the walls, and I've got curtains on the windows, and it's starting to come together! I have always liked a Georgian style, so that is the overall look I'm going for, even while I'm not being authentic. :D
but anyway, this is what I've got so far, and some pictures of putting it together. Two good friends who are excellent wood workers helped me or I'd never been able to do it so nicely.


So here is my room! It's about 15 x 13 with a small bathroom and small walk-in closet, which I'm going to use for storing lots of stuff in. I'm going to put shelves on the walls, and I've got curtains on the windows, and it's starting to come together! I have always liked a Georgian style, so that is the overall look I'm going for, even while I'm not being authentic. :D
but anyway, this is what I've got so far, and some pictures of putting it together. Two good friends who are excellent wood workers helped me or I'd never been able to do it so nicely.
Subscribe to:
Posts (Atom)